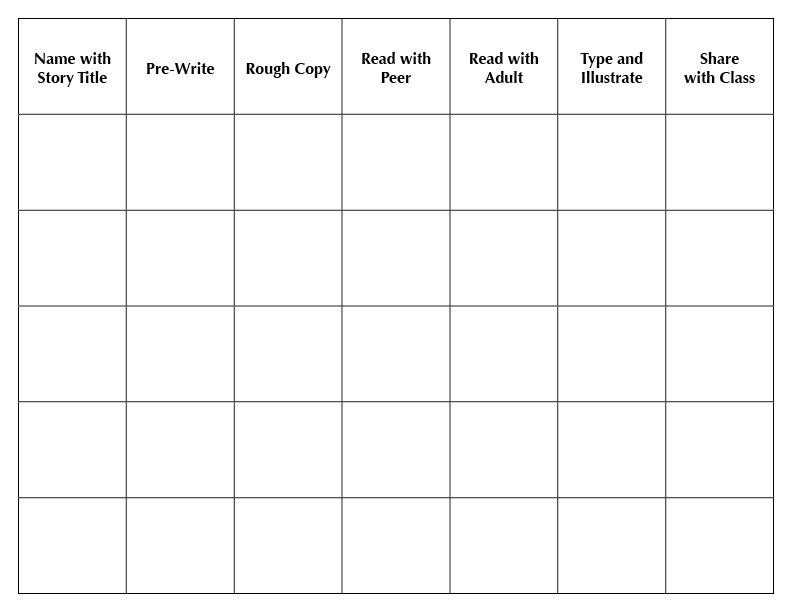
 Writing skills are needed across all grade levels and usually follows these six steps with an ever-escalating expectation that students will become more detail while also becoming more independent. Starred items may have a variety of “looks” depending on student ages and class goals.
1. Pre-Write
Capture your ideas in an outline or sequential listing of events/details to be shared in your writing. It might be a series of illustrations, writing out clouds of details you wish to include, or a more formal outline or plan. Pre-writing focuses your thinking.
2. Rough Copy
Use your pre-writing ideas to organize your writing. If you handwrite, skip lines to allow space for edits. Using a computer double space for those edit spaces. While you try to stay on your topic, don’t be afraid to alter your goals. Now’s the time to make changes.
3. Read with a Peer
Using a peer or student editor allows you to learn what others take away from your writing. It’s a time to request feedback, make changes and ask questions.
4. Read with an Adult*
For younger students it is important to add a second layer of editing to insure the writing covers all the part of a composed writing: a beginning, middle and end, uses strong verbs and sensory details if appropriate, uses a variety of transition words, as well as proper punctuation and capitalization. It’s a second chance to share feedback and make changes.
5. Type and Illustrate*
Create a final copy. This may include making a bound book and illustrating it. If so, it will be important for the class to know and follow the prescribed format. If not, it requires a final copy of the writing which may be shared with classmates, etc.
6. Share w/Class*
Younger students need to become comfortable sharing their work. One way to accomplish this is to use an Author’s Chair. Individual students read their writings aloud to their classmates. They may or may not ask for feedback (it depends on the writing goal for each project).
Suggestion: If you teach writing, consider creating a laminated chart to hang in your classroom, a place where students can monitor their own progress. Write student names in the first column with a more permanent pen. Have them afd their story title (erasable marker) Give each student one sticky note or have them check-off progress (using an erasable marker) as they move to the RIGHT across the chart. After an individual writing project ends, erase the individual markings to record the next writing and begin progressing through the six steps once again. (Revise the chart headings to meet your specific writing requirements.)

